
How to Re-Caulk a Kitchen Countertop and Backsplash


To properly re-caulk the joint between a kitchen countertop and backsplash, remove the old silicone, clean and dry the surfaces, apply a continuous bead of kitchen-appropriate silicone, and allow it to cure according to the product instructions. Applying new silicone directly over deteriorated caulking is not a reliable repair because the new material may not bond properly.
In a completed HANDLD condo maintenance project, deteriorated kitchen caulking was removed and replaced with Gorilla 100% silicone. The completed work shows a neat, continuous silicone line along the countertop-to-backsplash joint.
Here's what homeowners should know about replacing this seal and avoiding common mistakes.
Why the Countertop-to-Backsplash Joint Needs Caulking
The narrow joint where your countertop meets the backsplash is exposed to occasional splashes, cleaning water and everyday kitchen use.
Unlike grout, silicone caulking remains flexible. This makes it suitable for sealing the connection between two surfaces that may experience slight movement relative to one another.
When the existing silicone deteriorates, separates or develops gaps, water can enter the joint instead of remaining on the exposed countertop surface.
Over time, moisture entering an unsealed gap can affect nearby materials, particularly where cabinets or other moisture-sensitive components are present.
A continuous silicone bead helps limit water entry at this connection. However, caulking is a surface seal, not a repair for an active plumbing leak or existing water damage.
A Real Condo Kitchen Re-Caulking Project
HANDLD completed a multi-task maintenance visit at a condo where the kitchen countertop-to-backsplash caulking had deteriorated.
The kitchen repair involved two documented steps:
Removing the existing silicone caulking from the kitchen counter.
Replacing it with new silicone.
The recorded product was Gorilla 100% silicone.
The completed kitchen photo shows a neat, continuous bead of silicone along the countertop-to-backsplash connection.
This is a useful example of why replacing deteriorated caulking is preferable to simply covering the old material. Removing the existing bead allows the replacement sealant to contact the countertop and backsplash surfaces directly.
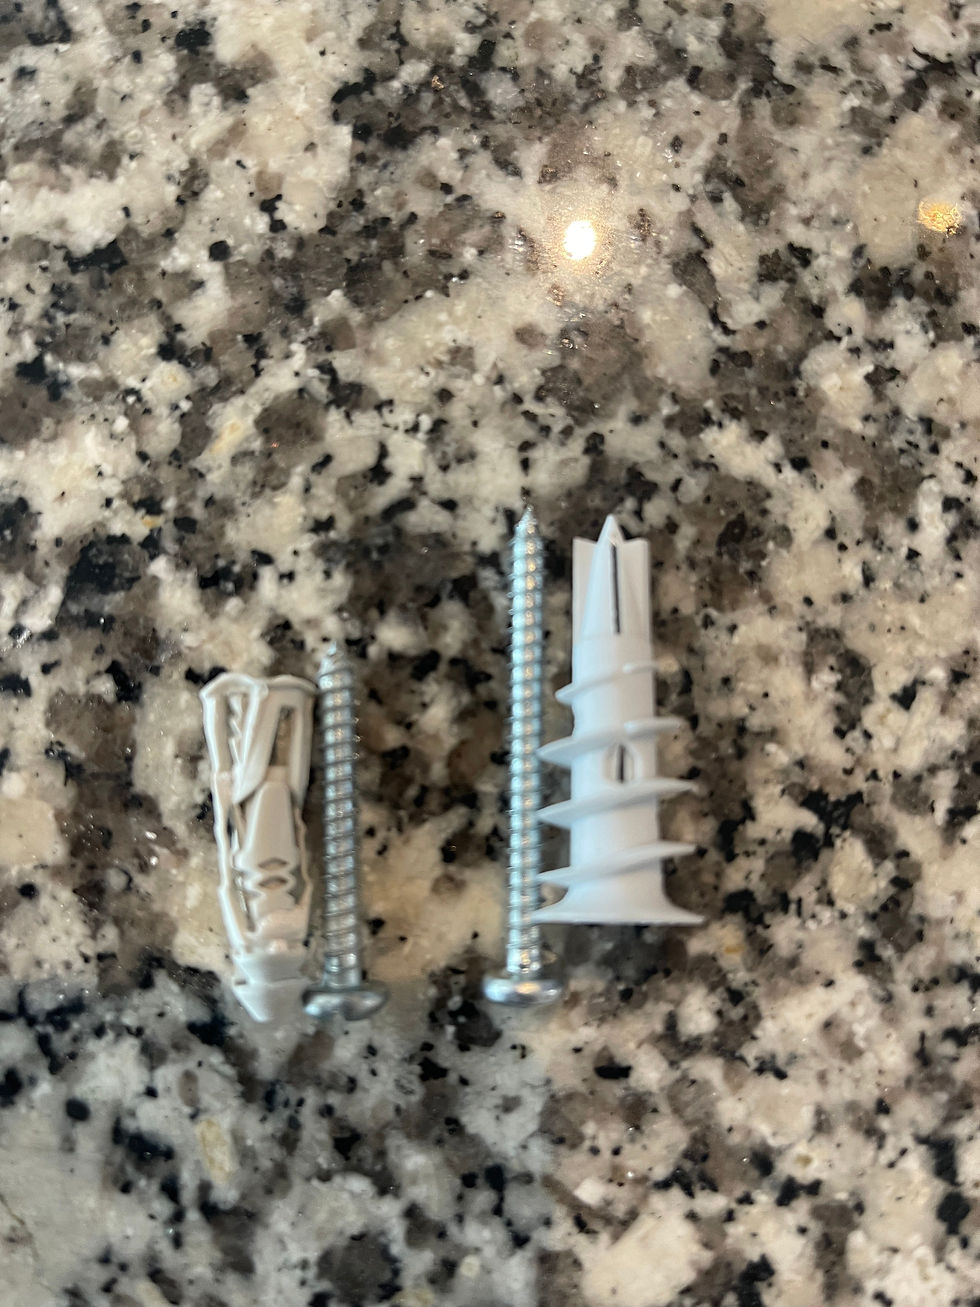
The visit also included other condo maintenance work. HANDLD replaced failing drywall anchors for a living-room curtain bracket and bathroom towel racks with heavier-duty anchors. Approximately 15–20 wall areas with incomplete or uneven previous repairs were corrected using drywall compound and sanding. Protruding concrete wall anchors were also removed.
These were separate repairs completed during the same visit, rather than part of the kitchen caulking process.
How to Properly Re-Caulk a Kitchen Countertop and Backsplash
1. Remove the Existing Silicone
Start by carefully removing the deteriorated silicone from the joint.
A suitable caulk-removal tool can help lift the old bead. Work carefully around stone countertops, tile and other finished surfaces to avoid scratching or chipping them.
Remove remaining loose silicone and residue rather than leaving sections of the old bead beneath the replacement material.
This matters because silicone generally does not bond reliably to existing cured silicone. Applying a fresh bead over the old one can leave weak spots and uneven contact with the surfaces.
If the existing caulking is difficult to remove without damaging the finishes, professional removal may be the safer option.
2. Clean and Dry the Joint
Once the old caulking is removed, clean the exposed countertop and backsplash edges.
Remove dust, grease, cleaning-product residue and any remaining loose material.
The joint should be completely dry before applying replacement silicone. Moisture or contamination can interfere with adhesion.
Use cleaning products that are compatible with the countertop and backsplash materials. Some stone finishes and other sensitive surfaces can be damaged by unsuitable solvents or abrasive cleaners.
If the joint remains damp, investigate the source of the moisture before resealing it.
3. Choose Silicone Suitable for the Kitchen
For a typical countertop-to-backsplash connection, a kitchen-appropriate 100% silicone sealant is often a suitable choice.
Silicone offers flexibility and water resistance, making it useful for joints exposed to occasional splashes and cleaning.
Before purchasing, check that the product is compatible with both surfaces. Natural stone, engineered stone, tile and other countertop materials may have different sealant requirements.
Also consider the finished appearance. Clear silicone can work with some countertop and backsplash combinations, while a colour-matched product may create a less noticeable joint.
For the completed HANDLD project, the recorded material was Gorilla 100% silicone. The job record does not establish that this specific product is appropriate for every countertop material.
4. Apply an Even, Continuous Bead
For a cleaner edge, painter's tape can be applied along both sides of the joint before caulking, provided the tape is suitable for the finished surfaces.
Cut the silicone nozzle to produce a bead appropriate for the width of the gap.
Apply the sealant steadily along the connection, maintaining contact with both the countertop and backsplash.
The goal is a continuous seal without obvious gaps, breaks or excessive buildup.
Smooth the bead using a suitable caulking tool and the sealant manufacturer's recommended technique.
If masking tape is used, remove it at the stage specified by the product instructions so it does not interfere with the finished edge.
The HANDLD work record confirms removal and replacement of the silicone. It does not specify whether masking tape or a particular tooling method was used during that visit.
5. Allow the Silicone to Cure Before Exposing It to Water
New silicone needs time to cure before it can perform as intended.
A bead that feels dry on the surface may not be fully cured underneath.
Avoid wetting, scrubbing or disturbing the repaired joint until the sealant has cured according to its product label.
Curing requirements vary by product, application conditions and bead dimensions. Follow the instructions for the exact silicone used rather than relying on a general waiting period.
You may be able to use unaffected parts of the kitchen while the sealant cures, but keep water and cleaning products away from the new joint.
When Should Kitchen Countertop Caulking Be Replaced?
Inspect the connection between your countertop and backsplash when cleaning the kitchen.
Signs that replacement may be needed include:
Silicone peeling away from the countertop or backsplash.
Visible cracks, gaps or missing sections.
Caulking that has become loose or is lifting at the edges.
Persistent staining that cannot be removed through normal cleaning.
Water collecting or disappearing into an opening along the joint.
Discolouration alone does not always mean the seal has failed. However, visible separation or missing silicone is a good reason to investigate.
If the countertop itself is moving, the backsplash is loose, or there are signs of water damage, those issues should be assessed before applying new caulking.
Can You Apply New Silicone Over Old Kitchen Caulking?
Removing the old silicone is generally the better approach.
A fresh layer applied over existing silicone may look acceptable initially, but it can have difficulty bonding to the underlying material.
It can also conceal deteriorated sections without correcting the original gaps.
For a proper replacement, the new silicone should make direct contact with clean, suitable countertop and backsplash surfaces.
This was the key documented repair sequence in the HANDLD condo project: old kitchen silicone was removed before new silicone was applied.
Frequently Asked Questions
Can I use grout instead of silicone between the countertop and backsplash?
Silicone is generally preferable at this change of plane because it remains flexible. Grout is rigid and can crack when adjoining surfaces move slightly. Check the requirements for your particular countertop and backsplash materials before selecting a sealant.
How long should I wait before using my kitchen sink after re-caulking?
Follow the curing instructions for the exact silicone product used. Avoid splashing water onto the new joint until the required cure period has passed. You do not necessarily need to stop using the entire kitchen, but the repaired connection must remain protected.
Will new silicone fix water damage behind the backsplash?
No. Re-caulking can restore the surface seal, but it will not dry damaged materials or correct an active leak. If you notice persistent moisture, swelling, loose tiles or other signs of water damage, investigate the underlying problem before resealing.
Should I re-caulk the joint myself or hire a handyman?
A straightforward, accessible joint may be suitable for a careful DIY repair if you have the appropriate tools and materials.
Professional help can be useful when old silicone is difficult to remove, the countertop finish is easily damaged, the joint is irregular, or you want the kitchen caulking addressed alongside other maintenance tasks.
Need Kitchen Countertop Caulking Replaced?
If the silicone between your countertop and backsplash is peeling, cracked or separating, HANDLD can help remove the deteriorated caulking and apply a replacement seal suited to the surfaces.
Contact HANDLD about kitchen caulking replacement and other home maintenance repairs in Toronto and the GTA.




Comments